Unbricking with a Flipper Zero
Yes, this is possible.
Prerequisites
- Your brain (please)
- A Flipper Zero with up-to-date firmware
- It doesn't matter if you are using stock or custom FW.
- A SOIC8 clip chip
- You can buy a cheap Chinese one here
- A screwdriver / pry tool to open your Chromebook
- A copy of your stock ROM
- A way to copy files onto your Flipper Zero
Preparations
- Locate the SPI flash chip (See Unbricking Page, under "Hardware Disassembly")
- A understanding that this may not work on your system
Caution
You will NOT be able to preserve the VPD using this method! This will not apply to you if flashing via your backup ROM. Read the Unbricking Page for more information.
Step 1
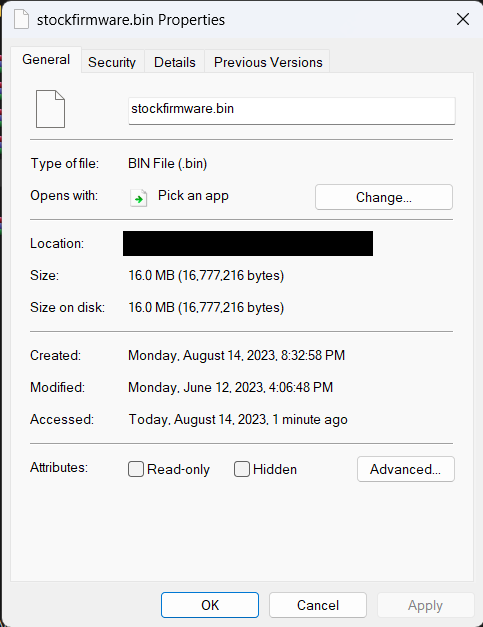
Obtain your stock ROM and rename it to .bin. For this guide, I will be using qFlipper. Your rom file should now look like this:
Step 2
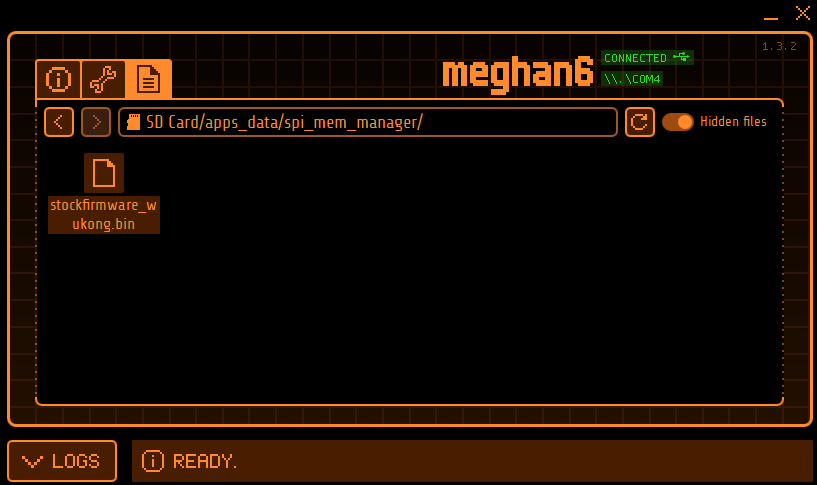
Locate the spi_mem_manager folder under the path SD Card/apps_data/spi_mem_manager/. Copy the .bin file to this newly made folder.
Tips
You might see a file size warning. It is safe to ignore it, only files that are 4GB+ will have issues transferring.
Your spi_mem_manager/ folder should now look like this:
Step 3
On your Flipper Zero, go to Apps -> GPIO -> SPI Mem Manager -> Saved. You should see your backup .bin. Verify that the file is there, then proceed to the next step.
Step 4
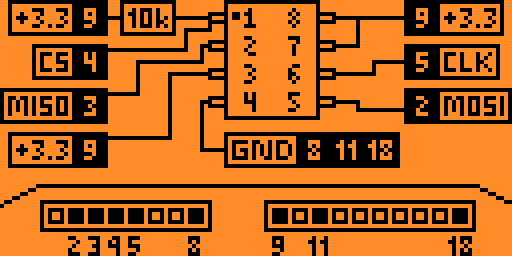
Connect your SOIC clip chip to your GPIO pins now. See the image below for the wire setup.
Step 5
Go back to Apps -> GPIO -> SPI Mem Manager -> Saved -> Yourfilename.bin. Open the file, then select the option to "Write".
Step 6
Assuming all went well, you should no longer have a bricked system.