Installing Ventoy to a USB drive with chromeOS
Ventoy is a useful tool that allows you to have multiple OS installer images on a single drive. It is also the only way to properly create an installer for Windows using chromeOS.
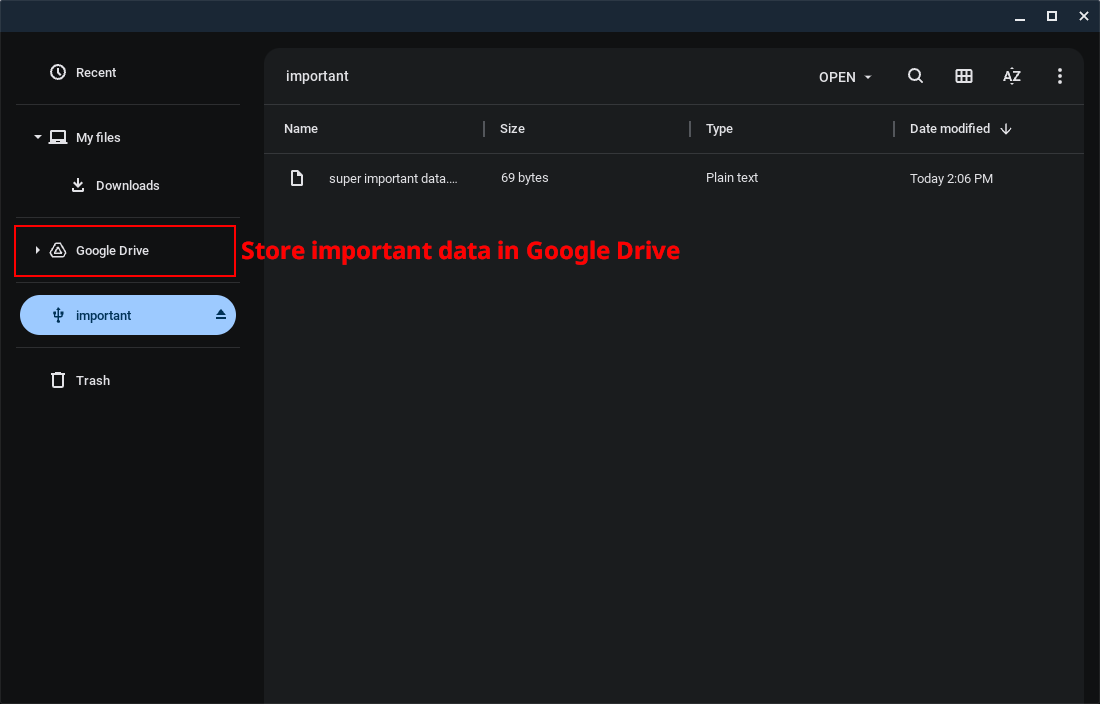
Backing up your drive
Before we begin, be sure to backup any data that may be on your USB drive as it will be erased during this process.
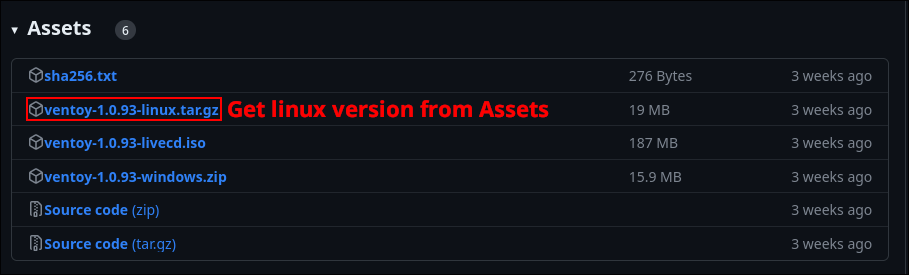
Downloading Ventoy
Grab the latest Ventoy release from GitHub. Be sure to get the Linux version.
Extracting Ventoy
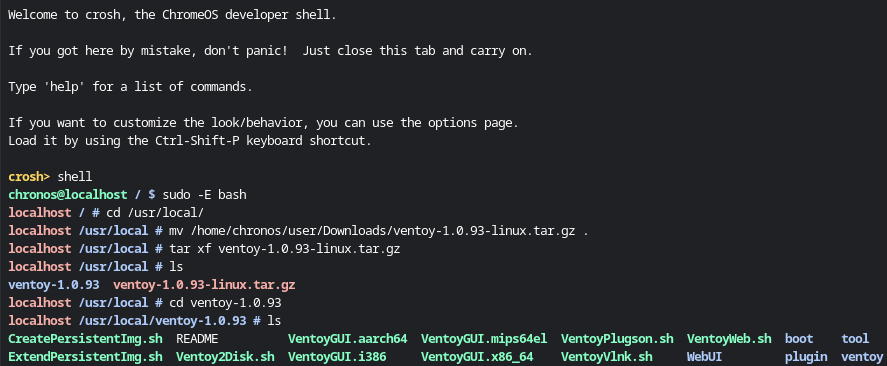
Open VT-2 by pressing Ctrl + Alt + 🡢 (F2) and run the following commands as root:
cd /usr/localtar xf /home/chronos/user/Downloads/ventoy-<ventoy version>-linux.tar.gzcd ventoy-<ventoy version>
Tips
On commands 2 and 3, after typing ventoy, you can press tab to fill in the rest of the filename automatically.
You can then run ls to verify you have the correct files, it should look something like this:
Starting Ventoy
Run the following command to start the Ventoy Web GUI:
./VentoyWeb.sh
Next, switch back to VT-1 by pressing Ctrl + Alt + 🡠 (F1)and open http://localhost:24680 in Chrome.
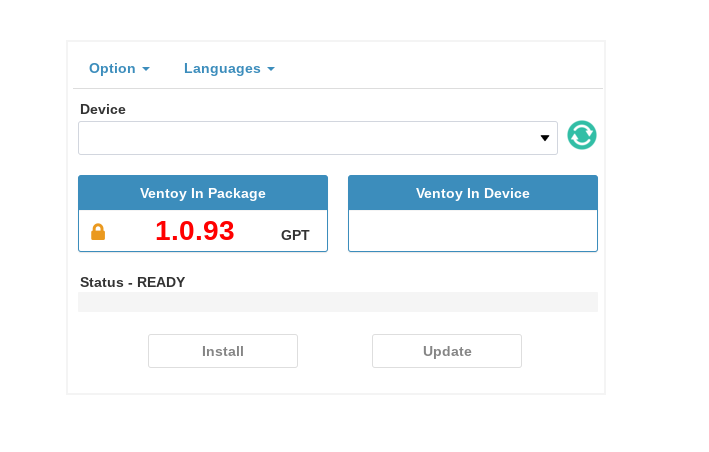
You should see this on your screen now:
Installing Ventoy to USB
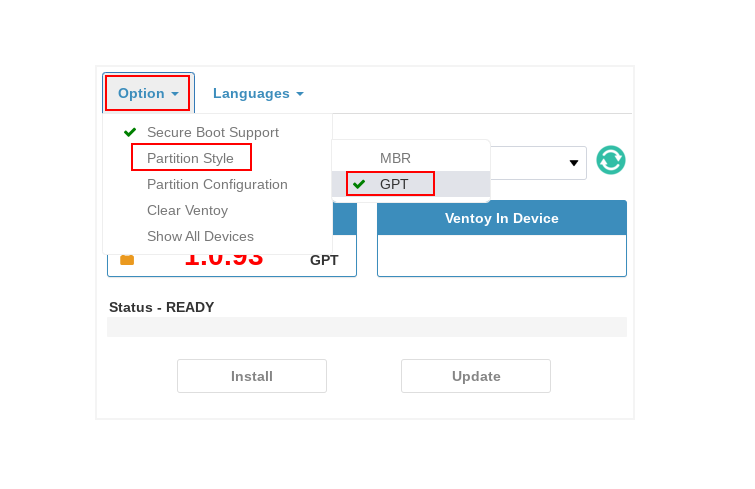
Plug in your USB drive and click the green circle to refresh devices. You should see your USB drive get detected. Now click options, then Partition Style, then choose GPT.
Once you have done that and your drive is detected, click on Install and click Ok twice when prompted and again once the installation has completed. Once installation is complete, unplug and plug back in your USB drive.
Adding OS images
Download an image of any OS you want. For Windows we recommend that you only use official ISOs from Microsoft.
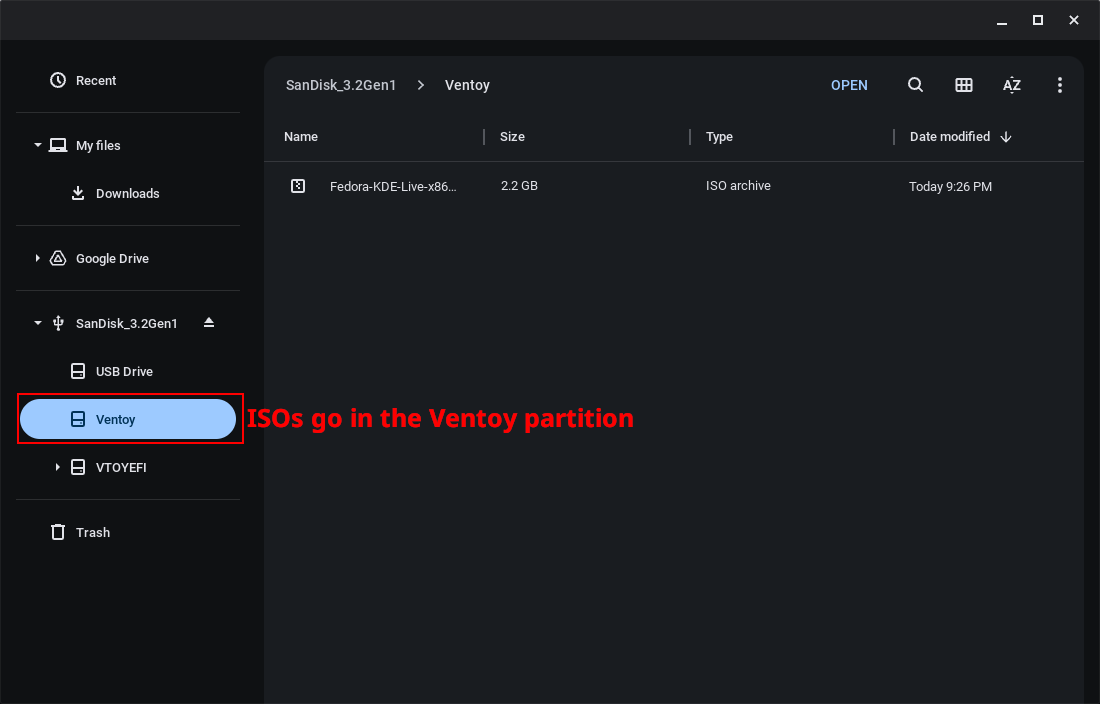
Open Files and click on your USB drive, you should then see a device named "Ventoy".
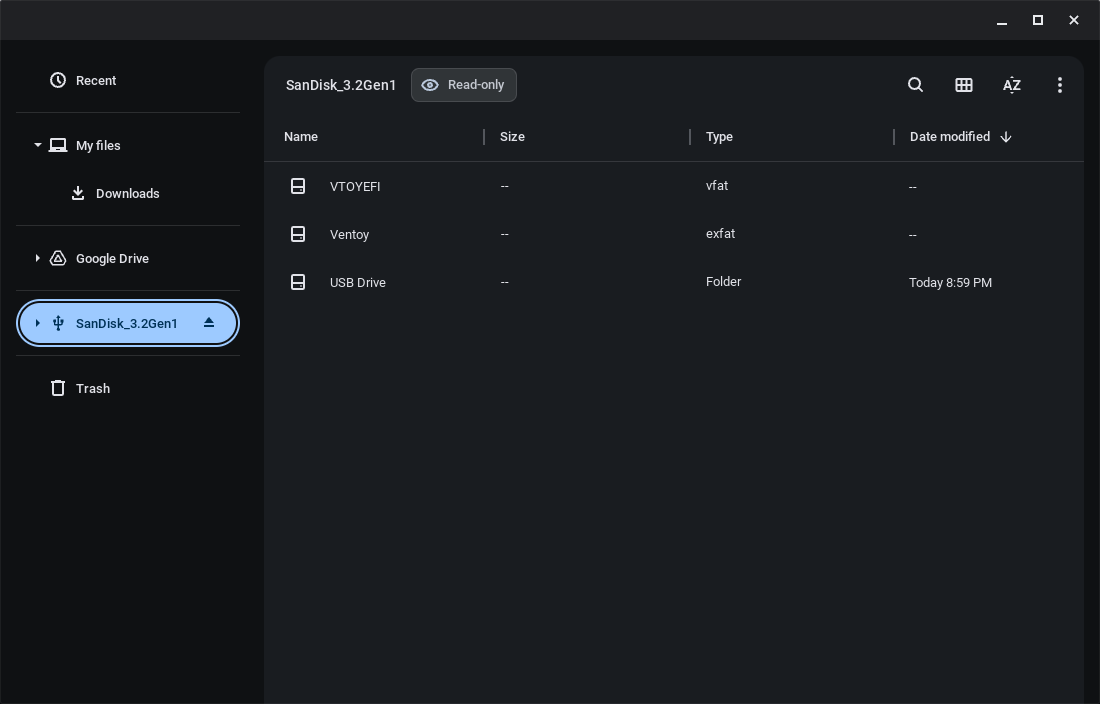
Copy your images from Downloads to the Ventoy drive. Do not touch VTOYEFI. Once you have done that, eject your USB drive and now you are done.